Planning a Multi-Location Signage Rollout
News Details
Setting up or revamping multiple locations entails more than just ordering identical logos in varying sizes. Each site can have a distinct exterior, landlord, electrical setup, and installation timeline.
Simultaneously, customers need to recognize the same brand at every site. The shapes, colors, finishes, and lighting of the letters must be consistent.
A successful multi location signage project finds the middle ground between these two requirements: a universal brand standard and a tailored plan for each location. Here is how purchasers, sign makers, and project managers can coordinate the process.
Initiate Your Multi Location Signage Project with a Well-Defined Brief
Prior to requesting estimates, clarify the scope of the rollout.
Enumerate each location, the signage required, and the desired launch or conversion date. Include outdoor branding, reception logos, directional signs, and any signs being removed or substituted.
After that, allocate responsibility for:
- Site assessments and measurements.
- Artwork and technical blueprints.
- Landlord and local approvals.
- Production and quality assurance.
- Shipping, receiving, and storage.
- Installation and electrical work.
- Final inspection and upkeep records.
A single project leader should monitor choices across these departments. Otherwise, a minor adjustment at one location might go into production without the necessary sign-off.
Conduct a Survey of Each Location Before Sign Sizes are Finalized
Having a common logo doesn't mean every building can utilize the same sign.
For each location, gather clear images, measured elevations, and details of the mounting surface. Additionally, note the accessibility conditions and any existing sign hardware.
For lit signs, determine the available power source, the intended cable path, and a convenient spot for power supplies or drivers.
A thorough site evaluation should encompass:
| Site detail | Why it matters |
|---|---|
| Available sign area | Sets the limits for the approved layout |
| Viewing distance and angle | Aids in evaluating letter size and placement |
| Wall material and condition | Facilitates mounting and fixing design |
| Electrical provision | Aids in defining the installation of illuminated signs |
| Access restrictions | Influences the choice of lifting equipment and working hours |
| Approval status | Prevents premature production |
Before releasing site-specific blueprints, verify the measurements. Relying solely on photos is not a reliable way to determine fabrication dimensions.
Create a Standard Sign Family
Designate a limited set of approved sign types instead of starting from scratch at each location.
For instance, the rollout may feature illuminated storefront letters, non-illuminated reception logos, and acrylic lettering for select interior displays.
Define common characteristics, such as:
- Logo design and letter spacing.
- Approved hues and physical finish samples.
- Depth of letters and their edge appearance.
- Illumination style and agreed-upon visual reference.
- Mounting method alternatives.
- Guidelines for scaling signs to fit smaller building facades.
When a site requires an exception, document it. Distinguish the approved master design from variations specific to individual locations.
Opt for Non-Illuminated Signs in Appropriate Locations

Non-illuminated signs lack internal lighting. They rely on natural light, room lighting, or a separate external light source.
These can be used in lobbies, office walls, and exteriors where internal lighting is unnecessary or restricted. However, ensure they remain visible at night.
River Stone's collection includes both non-illuminated dimensional signs and illuminated channel letters, allowing customers to select various sign styles within a cohesive design.
When weighing options, take into account visibility, materials, mounting, maintenance, and total installed cost. A basic sign may reduce electrical needs, but difficult access or wall repairs can still impact the budget.
SpecifyIlluminated Channel LettersConsistently
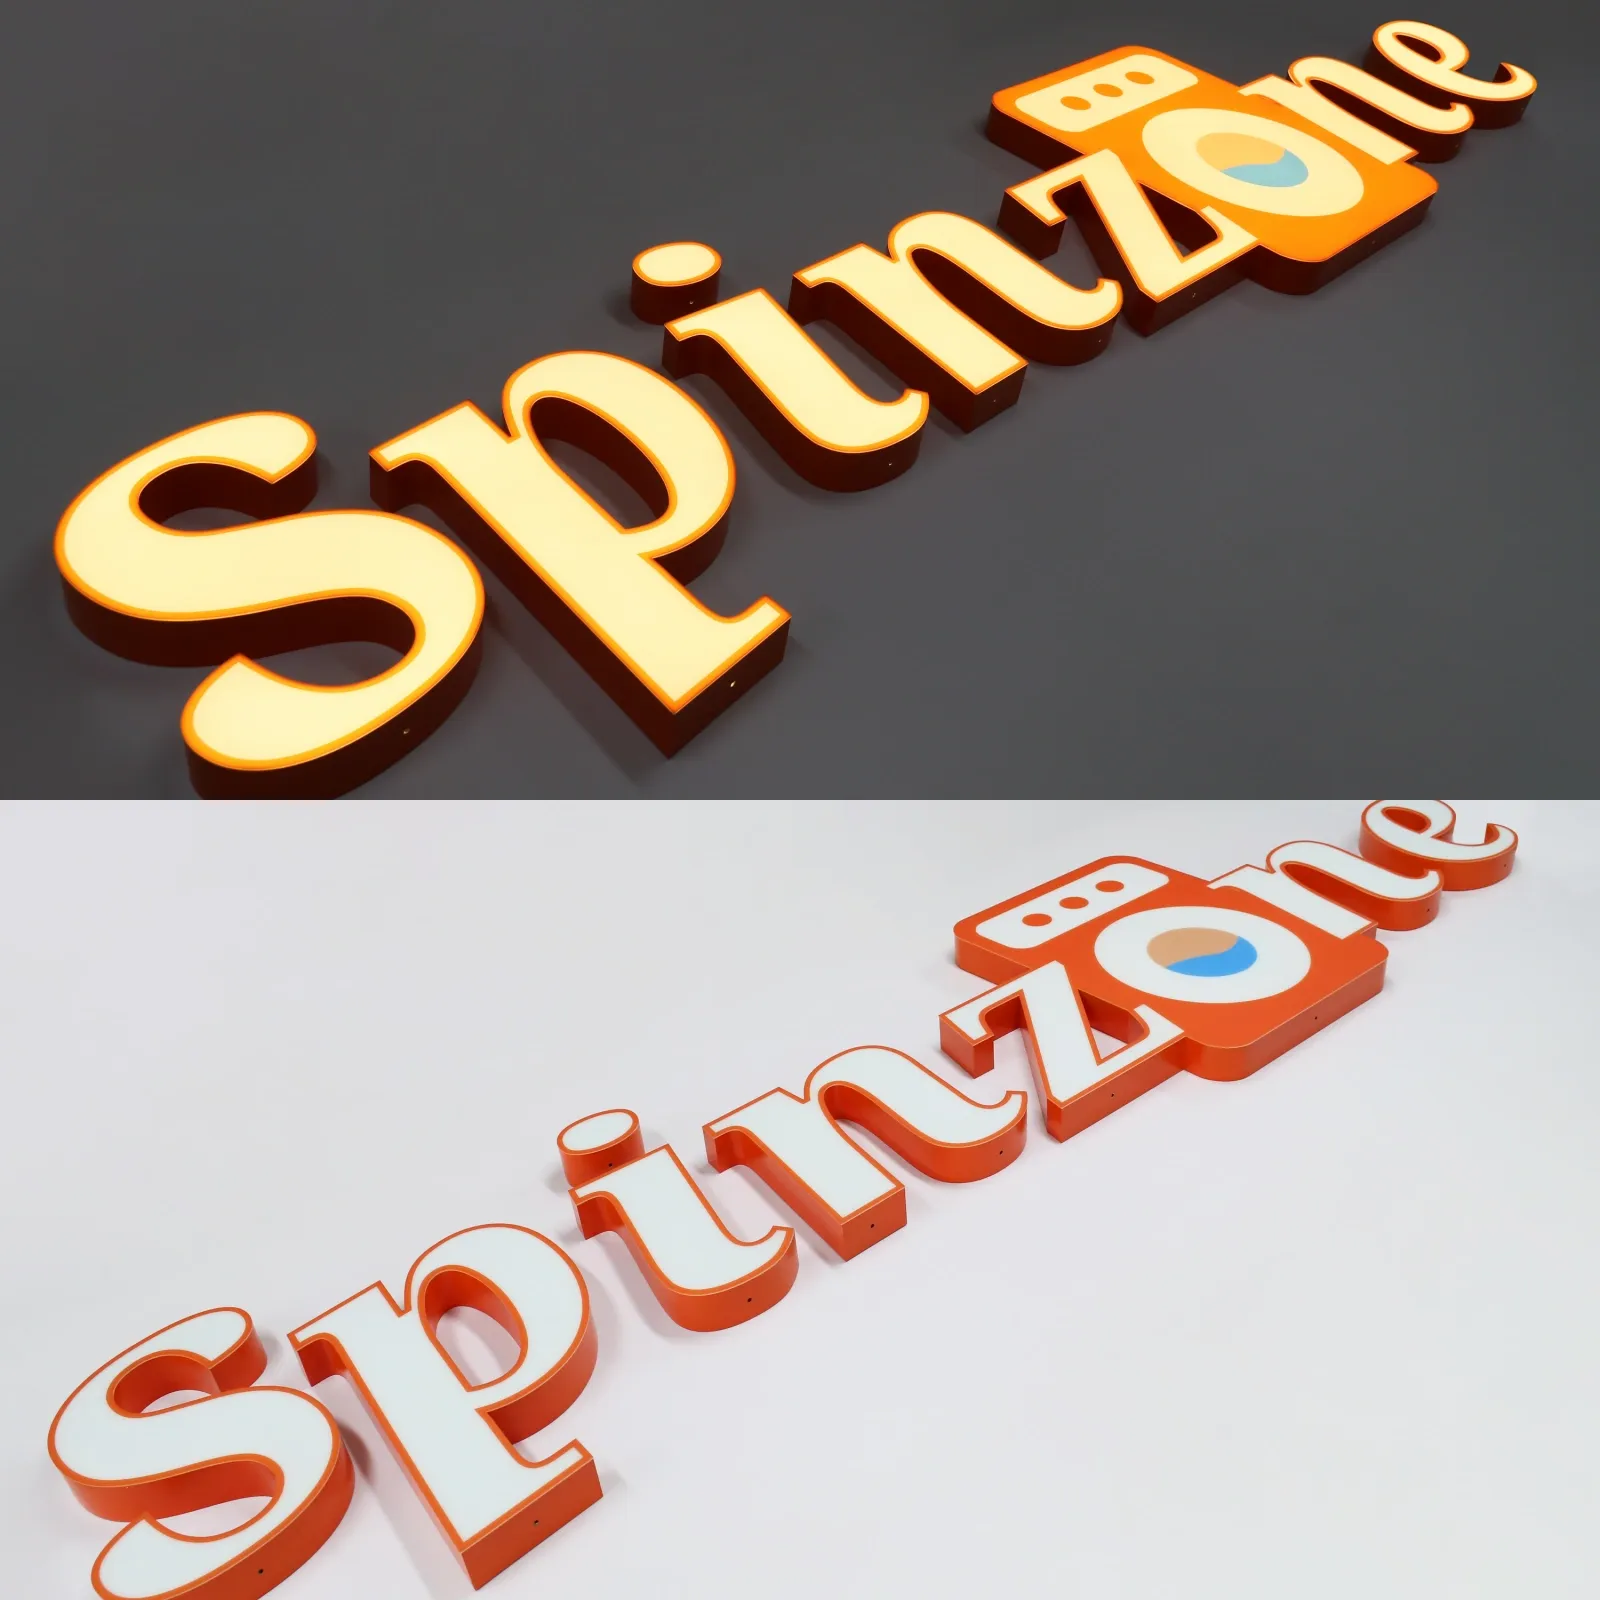
Illuminated channel letters can create a strong brand presence in the evening. However, their visual impact is determined by more than just the selected color.
Front-lit letters illuminate the face, whereas halo-lit designs cast light onto the mounting surface. These effects necessitate different layouts and installation specifications.
To maintain uniformity with illuminated letters, reach an agreement on:
- Material and color of the face.
- Depth and construction of letters.
- Lighting components and their output.
- Power supply specifications.
- Environmental safeguards.
- Wiring and service accessibility.
- Mounting distance from the wall, if applicable.
Additionally, examine a lit sample under predetermined conditions. A dark wall, textured facade, or alternative viewing angle can alter the visual impact of a halo-lit sign.
Confirm electrical documentation and installation specifications for each location before manufacturing.
Match Acrylic Letters to Their Intended Use
Acrylic letters can achieve precise shapes and various visual effects. Nonetheless, their specifications should align with the intended application.
Often, searches for acrylic letters for crafts pertain to small decorative pieces, temporary displays, or hobbyist projects. It is incorrect to assume these products are suitable for permanent commercial signage.
Conversely, acrylic letters for outdoor signs demand a defined specification that outlines the material grade, thickness, exposure conditions, fixing design, and surface finish.- Ask the manufacturer to confirm:
For letters mounted above public areas, special consideration should be given to the fixing arrangement. Avoid choosing an adhesive based solely on its performance on a small indoor test piece.
Approve a Pilot Before Releasing the Full Rollout
A prototype evaluates the product's quality. A trial installation assesses the product's performance in a real-world setting.
Select a representative location and conduct a daytime and nighttime review of the sign, as applicable.
Check:
- Brand color and proportions.
- Letter alignment and spacing.
- Quality of finish.
- Lighting appearance.
- Visible fixings and cable routes.
- Installation access and maintenance needs.
Record any modifications, then revise the master specification before releasing subsequent batches.
River Stone's website details a pharmacy chain initiative that included sample approval and a multi-site rollout, underscoring the value of this phased methodology for establishing consistent branding across locations.
Structure the Schedule Around Approval Milestones
Plan backwards from each launch date. Allocate time for surveys, design reviews, approvals, samples, production, transportation, and installation.
A site should only proceed to production when all necessary details have been approved. Additionally, distinguish between the manufacturing lead time and the overall project timeline.
For a large-scale program, phased releases might be more manageable than a single complete shipment. Yet, guarantee that all phases adhere to the same approved artwork, finish references, and inspection benchmarks.
Maintain a change log detailing who authorized each revision and the locations it impacts.
Label, Pack, and Inspect by Location
Even if every sign is flawlessly produced, a rollout can still falter during delivery.
Assign a unique site code and sign reference to each sign. Incorporate these identifiers into the drawings, packing lists, installation guides, and shipping containers or crates.
Prior to dispatch, validate the contents through photographic evidence and inspection records. Include approved mounting templates and any applicable assembly or wiring guidelines.
Design packaging with vulnerable parts in mind, particularly acrylic surfaces, finished edges, and projecting studs. Additionally, confirm receiving procedures to prevent signs from being stored in unsuitable conditions prior to installation.
Complete the Rollout with a Documented Handover
Following installation, collect completion photos, inspection findings, and any outstanding issues for each site.
For illuminated signs, include the relevant electrical checks and operating information. Keep component references, maintenance instructions, and warranty terms accessible so that future repairs use the proper parts.
To discuss a rollout with River Stone, provide your location list, brand artwork, survey information, preferred sign types, and delivery schedule.
A well-structured project package helps turn a collection of individual signs into a cohesive, manageable brand rollout.


